
When you buy a new zero gravity chair, one of the things that you want to ensure is that it lasts for a very long time. And the reality is that if you do a good job selecting one, then it is a matter of general maintenance to prolong its life.
One of the things that you need to understand about zero gravity chairs is that even though they are meant to last there are some things that you may need to do to make them more durable. Besides, there are specific features that tend to wear and tear with time and you need to replace them. And this is a great thing. After all, instead of simply getting rid of a zero gravity chair that you like, you can try and put it back to work again.
The truth is that getting replacement parts for your gravity chair is becoming easier every day. So, you shouldn’t have any problems finding the missing or broken part that you need and simply replace it.
One of the main problems that tend to affect zero gravity chairs is related to the cords. After all, and if you think about it, every time you use your zero gravity chair you are using them. They serve to connect the fabric with the frame of your zero gravity chair. So, every time you change positions, when you lay down or get up, you are forcing the cords. This is why it is important that you know how to restring a zero gravity chair.
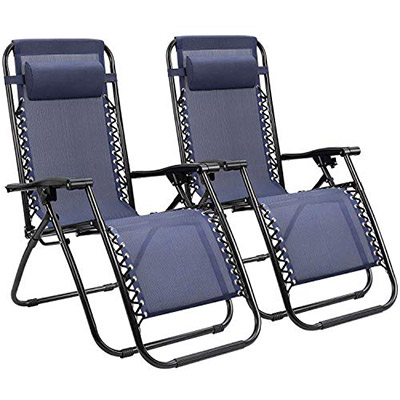
These are the top aluminum zero gravity chairs.
How To Restring A Zero Gravity Chair
In case your cords aren’t working well or are all worn out, it is time to replace them. So, here’s how to restring a zero gravity chair:
Step #1: Gather The Material:
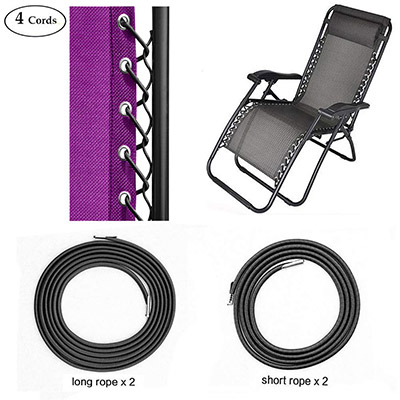
Before you start restringing your zero gravity chair, you need to ensure that you have all the materials to do it. You will need to have bungee cord (which you can get online), cable ties, and scissors.
Get all your accessories here.
Step #2: Removing The Old Cords:
Now it’s time to start the task. The first thing that you need to do is to get rid of the old cord and cable. The simplest way to do this is to cut the old cords with a scissor. You should start at the bottom of the chair and allow it to open up until the top.
Check out the top lightweight zero gravity chairs.
Step #3: Adding The New Cord:
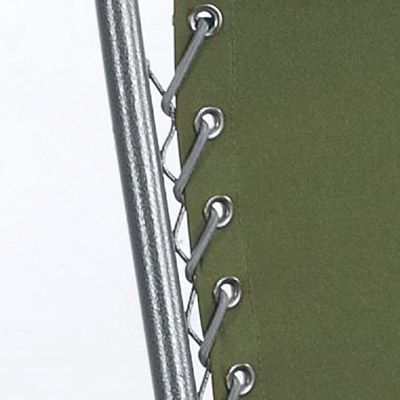
Now that you removed the old cord, it is time to replace it with the new one. To do this, you need to make the new cord in a double layer form. Then, you should, again, start at the bottom of your zero gravity chair. Make sure that you make a node. You will then need to continue to connect the entire chair frame to the fabric.
Step #4: Cut The Cable Ties:

Looking for a big and tall zero gravity chair?
Now that you completed adding together the fabric wit the frame of your zero gravity chair, you will need to cut the cable ties with a scissor.
Discover other way to do this.
Your zero gravity chair is now as good as new. To ensure that the cord adds flexibility, make sure that you try it.